Quick Email Now!
-
-
Phone Number
(86) 13722837608
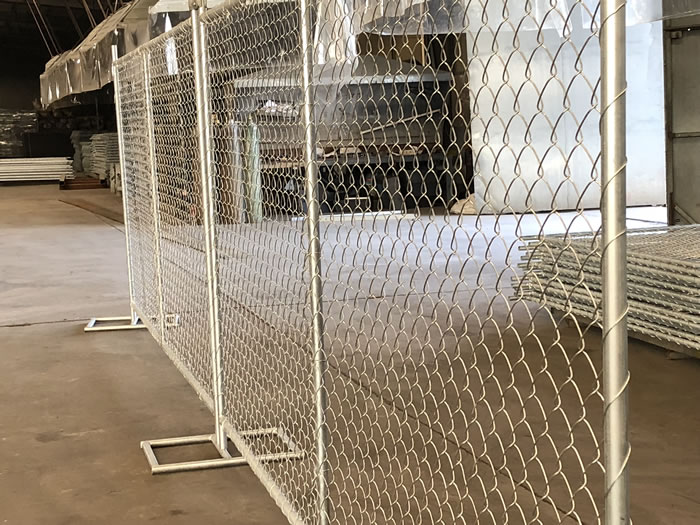
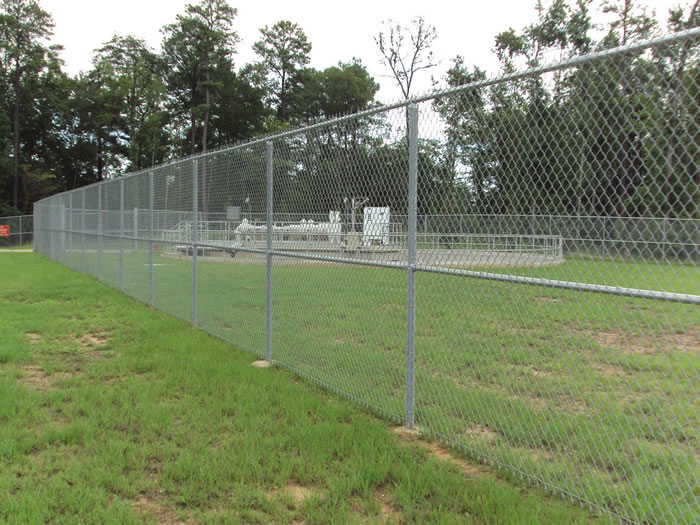
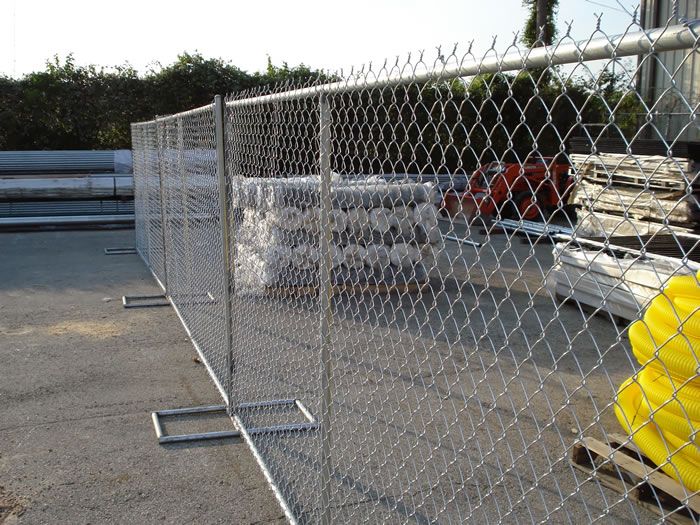
Temporary Fence
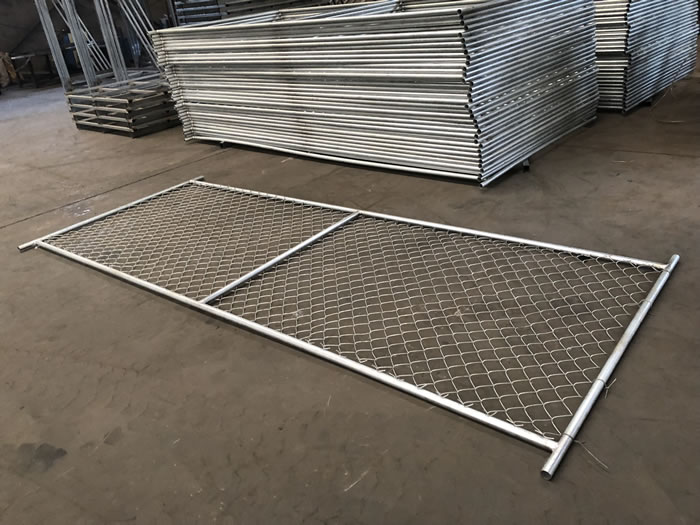
Chain Link Temporary Fence
1. Product Information:
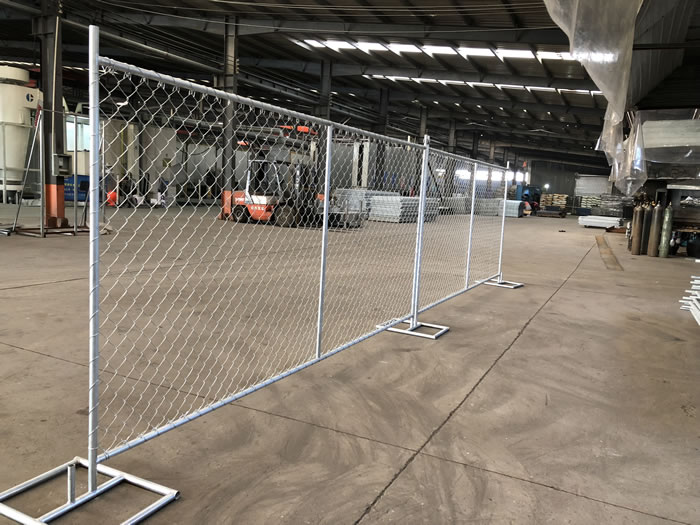
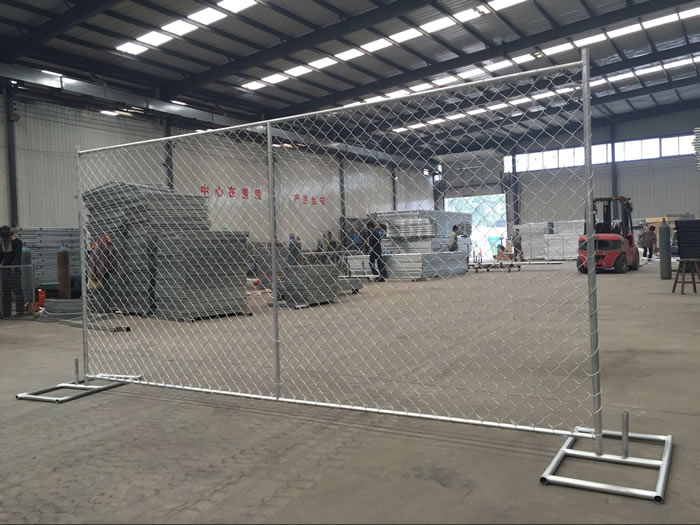
Chain Link Temporary is widely used for construction projects and special events, including sporting events, concerts, festivals and religious events.
Chain link temporary fence is one kind of temporary fence, which is used when an area needs barriers for the purposes of public safety or security, crowd control, theft deterrent, or equipment storage.
It most commonly used as security fencing for building and construction sites. Other uses for temporary fencing include venue division at large events and public restriction on industrial construction sites. Temporary fence is also often seen at special outdoor events, parking lots, and emergency/disaster relief sites.
2. Characteristics
• Easy to handle and install
• Anti-weather with long service time
• Wild field of vision
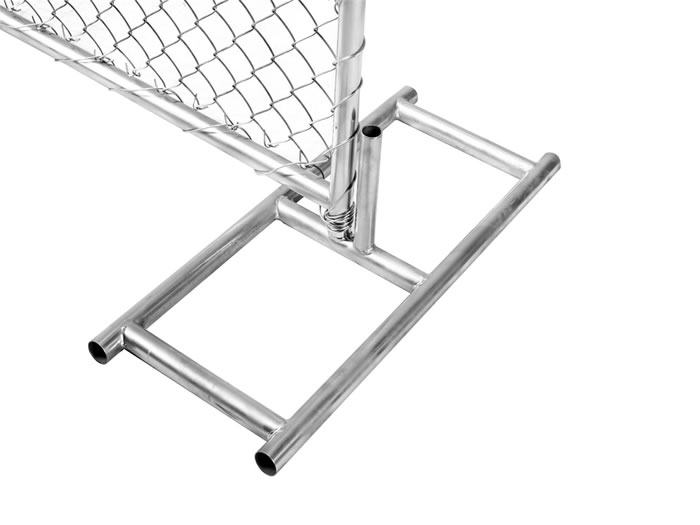
• Suitable for wide range of pipe post with outer diameter of 20mm, 25mm, 28mm, 32mm, 38mm, 42mm and 48m
3. Application of chain link temporary fence
* To secure construction sites and private property
* Temporary fencing of residential housing sites
* Temporary fencing and crowd control barriers for major public events, sports, concerts, festivals, gatherings and so on.
* Temporary safety fencing for swimming pools
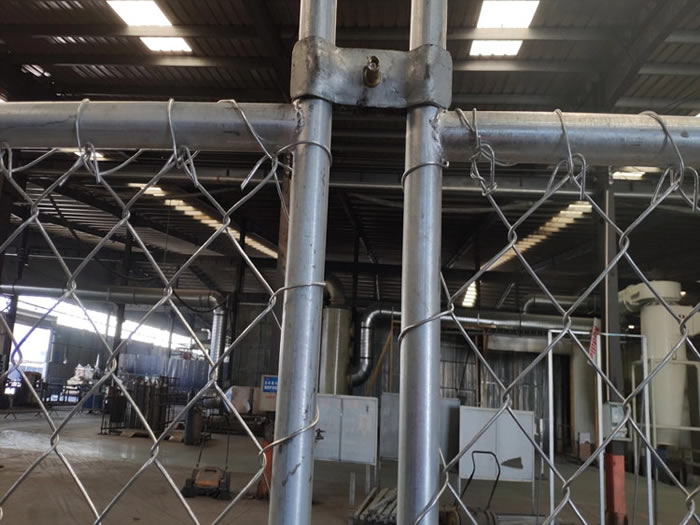
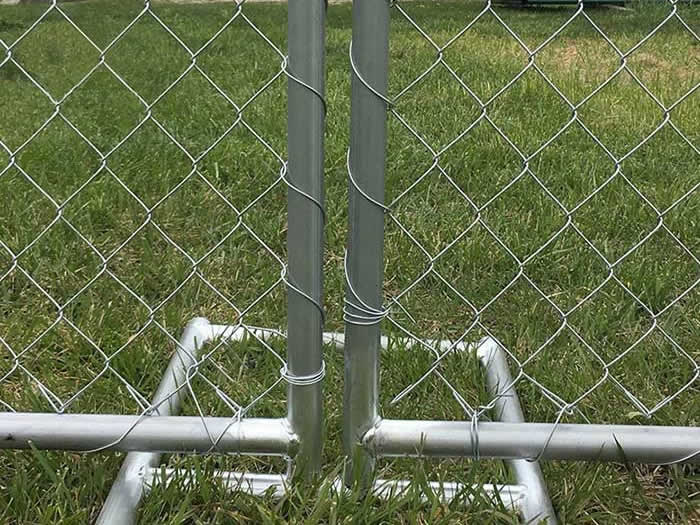
4. Installation
Step 1: Determine the Correct Size and Location
The run should be at least twice as wide as your pet’s shoulders and five times the length from nose to tail. A level, shady spot protected from wind and flooding is a perfect location. The floor of the dog run can be grass or concrete.
Step 2: Connect the Framing
Set a post in each hole and pour a dry 50-pound bag of concrete into each hole and add five gallons of water. The bottom framing gets connected first then clamps are used to hold the bolted uprights in place. The top rails go on next, again with clamps to help tighten.
Step 3: Install the Upright Post
Last to be added is the upright post for the gate. Then it’s time to unroll the fence fabric and add the first tension rod.
Step 4: Cut the Fencing
The fabric should be stretched and secured with wire ties about every 5 feet. Pull the fence toward the opposite pole, mark for cutting, then cut fencing and unweave it at determined length. Cutting is done at the last post beside the gate with more ties to fasten the edge.
Step 5: Add a Tarp for Shade
A tarp on top will give extra shading and comfort. Don’t forget plenty of food and water. If your dog will be outdoors a great deal of the time, add a doghouse or create a shelter with an awning or wooden roof.
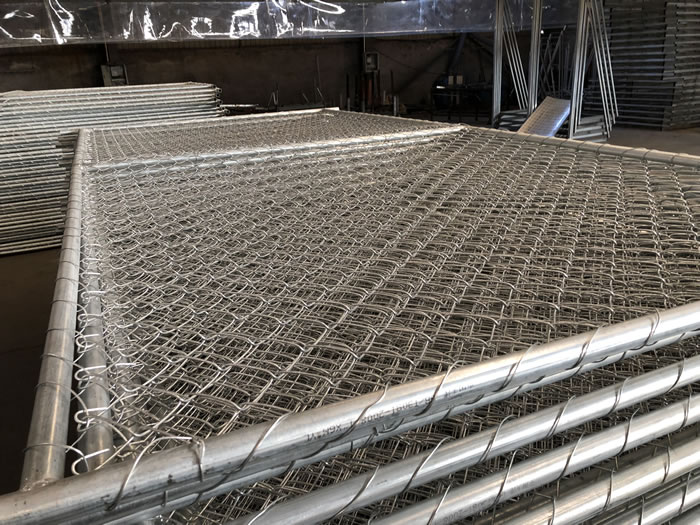
5. Packing
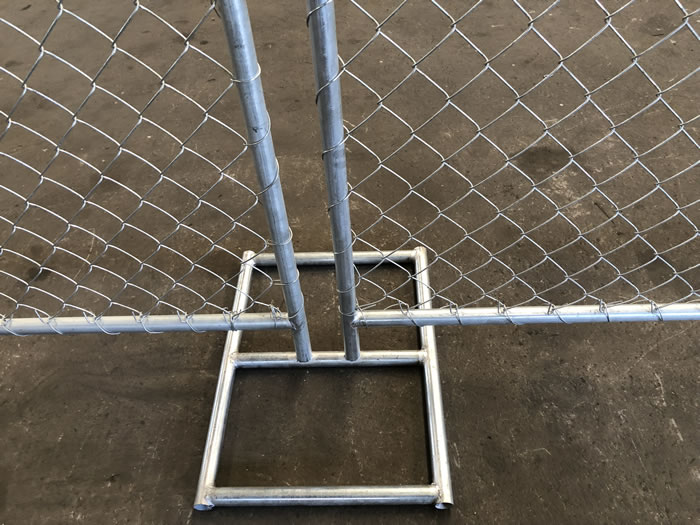
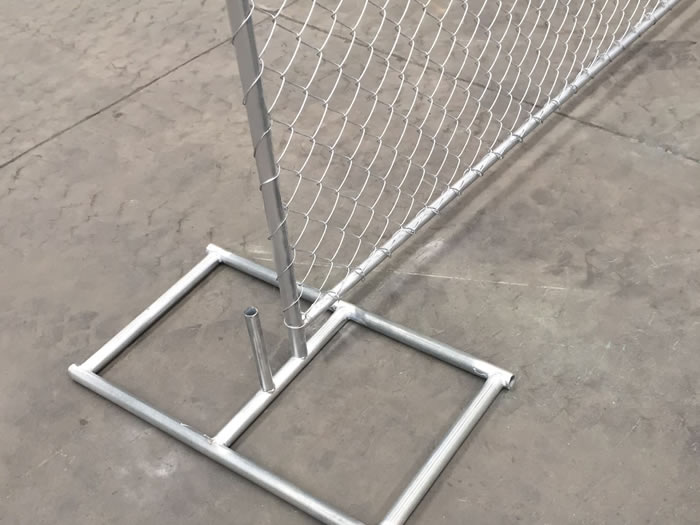
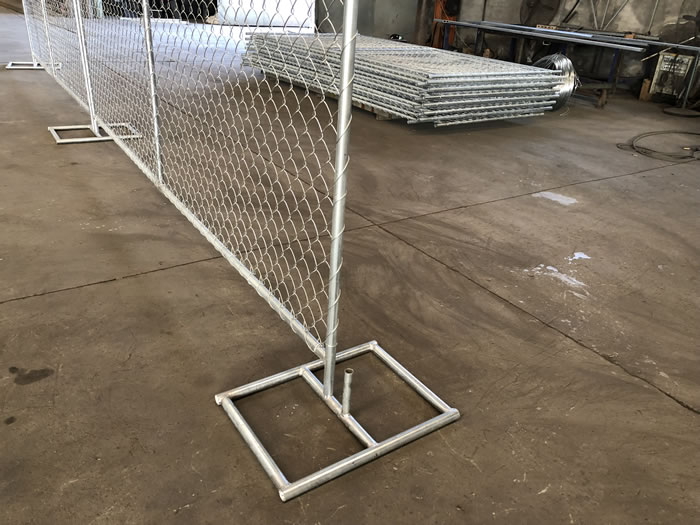
Temporary Fence panel: Packed by metal pallet.
Temporary Fence Feet: Packed by plastic film.
Temporary Fence Clamps: Packed by carton boxes.
Temporary Fence Brace: Packed by plastic film, then put into the container in bulk.
6. Specifications
| Height | 4ft, 5ft, 6ft, 7ft, 8ft |
| Length | 7ft, 8ft, 9.5ft, 10ft, 12ft |
| Frame | OD 32mm, 38mm, 42mm, 48mm |
| Infill Mesh(mm) | 50X50mm, 60X60mm, 80X80mm |
| Wire diameter | 2.5mm, 2.8mm, 3.0mm, 3.5mm, 4.0mm |
| Finish | Hot Dipped Galvanized |